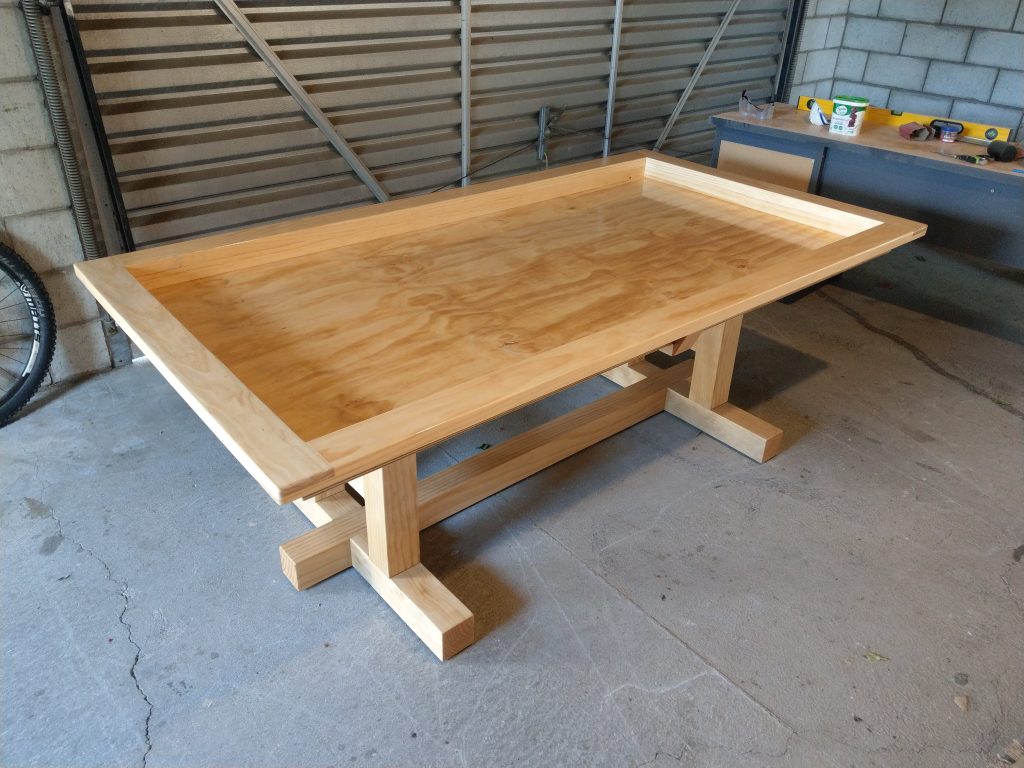
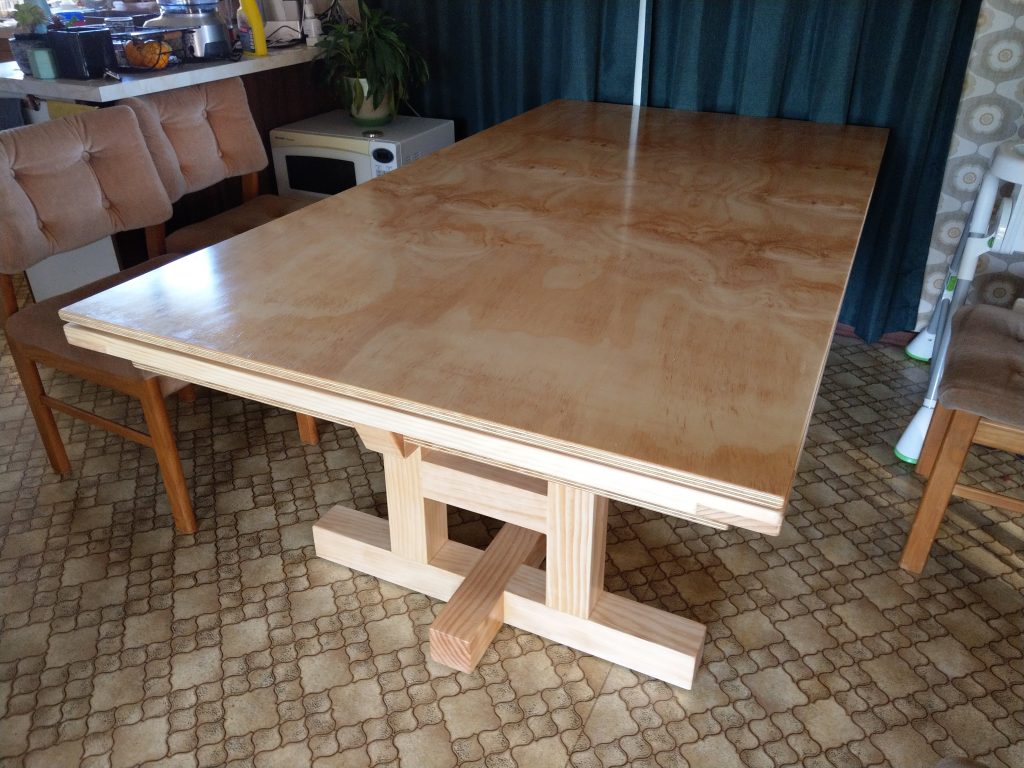
Just under two years ago, I decided to build a board game table. After several design iterations, the purchase of a house with a garage / workshop, numerous YouTube videos on “how to turn wood into things”, much humming and hawing about where to source the materials, and a visit from my brother who helped with the actual build, here it finally is:

Designing the Table
Most good things start with an idea. Some good things start with a terrible idea that is slowly-but-surely iterated into something half-decent, and eventually becomes something actually not bad at all.
This was my first terrible idea:
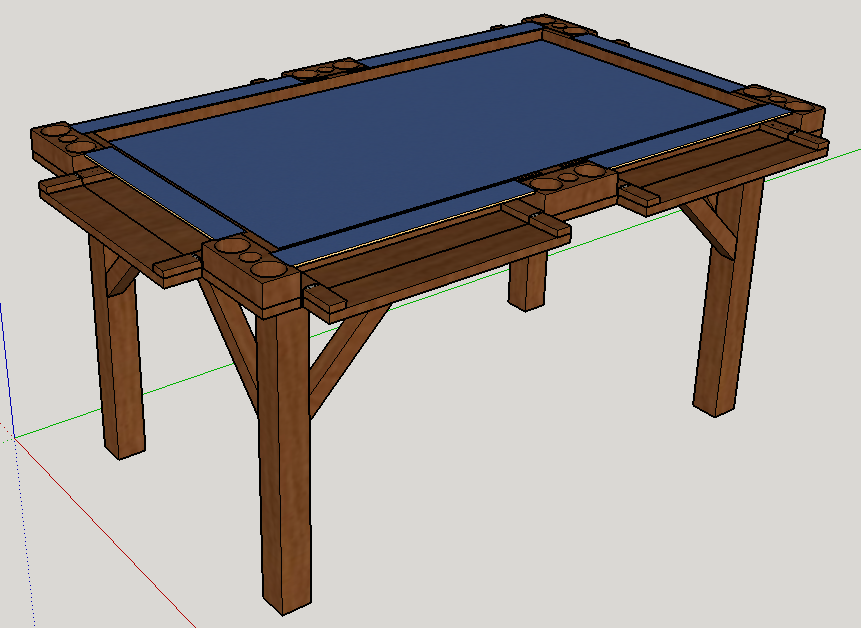
Yeah, I know. I’m not sure what I was thinking either.
See, what I had noticed more than anything else while perusing the web for table inspiration was the cupholders. Just about every table seemed to have cupholders, and I needed them. I also needed foldable lowered player trays, for games where you don’t need to see what anyone else is doing.
Granted, I had never built a table before, or really anything even approaching the size and complexity. But I was confident, and cocky, and I was going to have my cupholder-heavy, foldable player tray-having table.
Thankfully, as I started to realise the magnitude of the task, I came to my senses and adjusted the design:
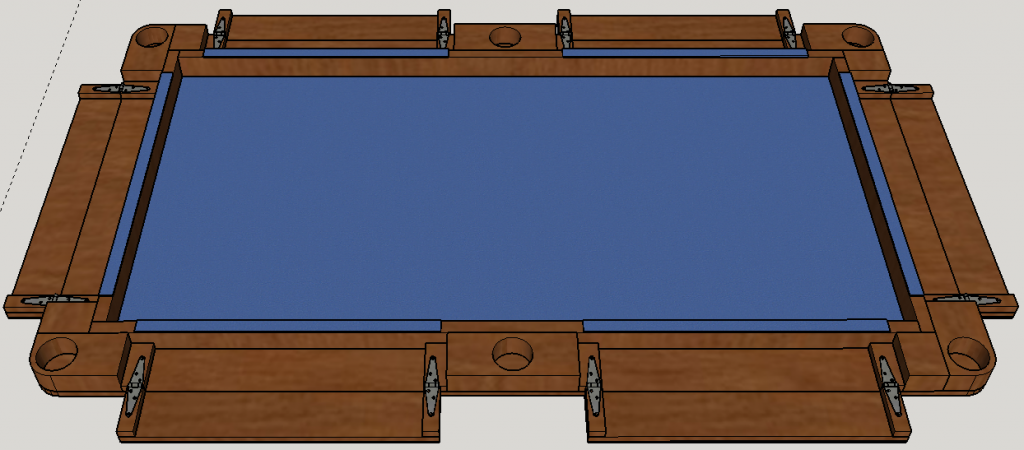
I had decided I would instead make a topper to put on another table whenever game night came along. Because, as we all know, the legs are the hardest part of any board gaming table to design and build (they aren’t), and this would be the best way to save me a lot of time and effort (it wouldn’t). Plus, storage of the topper surely wouldn’t be an issue (it would).
I eventually came to my senses and realised that if I actually wanted to build a table, I would have to make it a bit easier on myself. So after a few more iterations, I finally settled on a design.
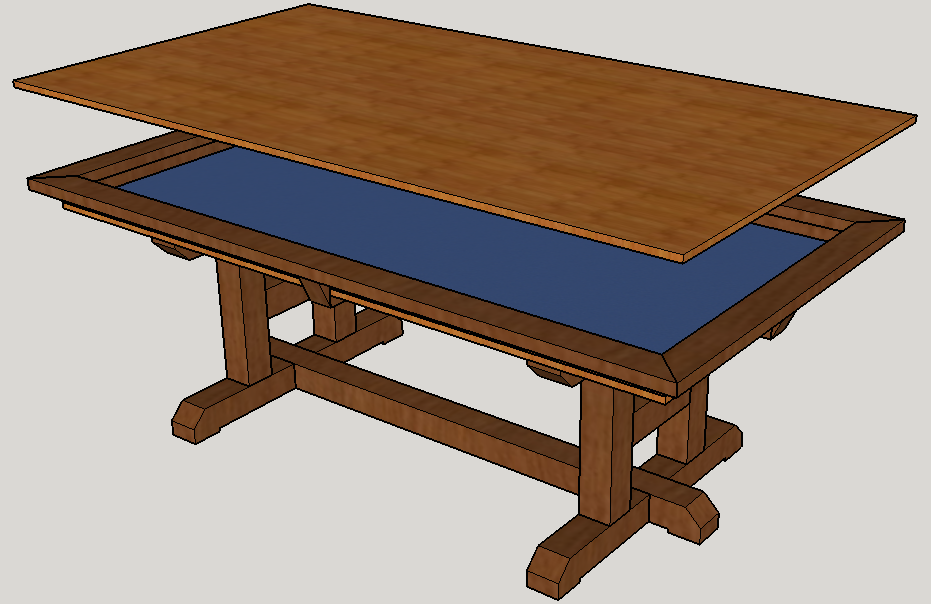
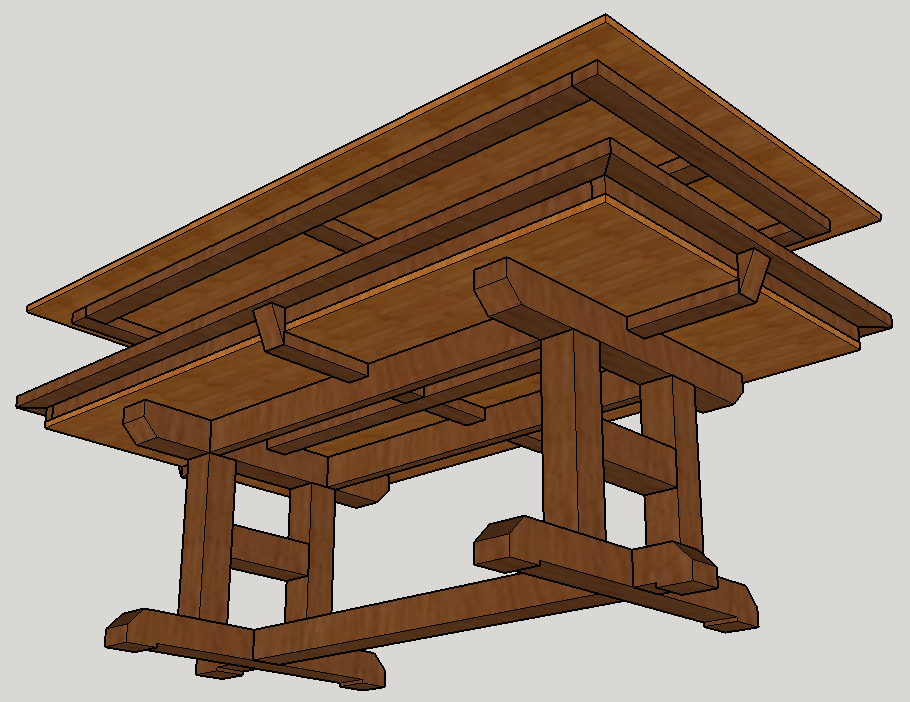
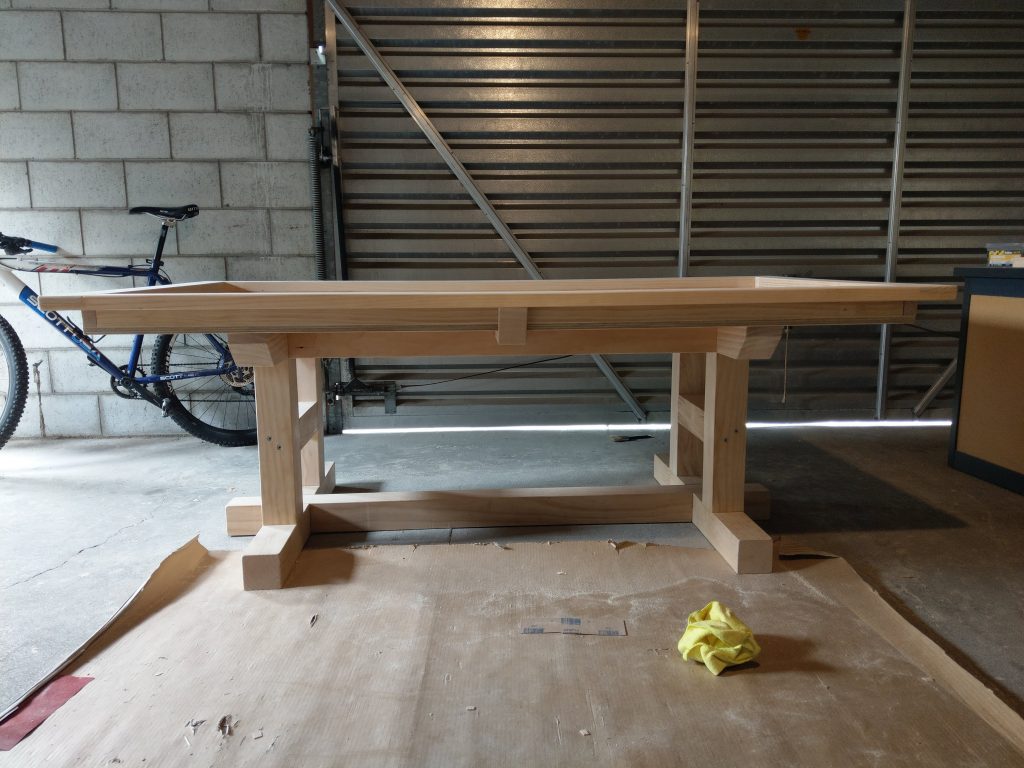
I’ve always found the aesthetic of farmhouse tables appealing, and when I stumbled on this fantastic post by Rogue Engineer, I knew what I wanted the legs to look like. It’s simple, sturdy, and surprisingly good for leg room.
Yes, despite my earlier commitment to cupholders and folding mats, I decided to go with a more streamlined design. My thinking is I can always add some kind of rail system later if I feel the need.
In terms of the play area dimensions, I went with a gaming surface area of 915mm x 1830mm (36″ x 72″). The inset is 72mm (2.8″) recessed. The wrist rests are 90mm (3.55″), with a dining surface area of 1095mm x 2010mm (43″ x 79″).
I knew the dining topper would be a bit cumbersome. Thankfully, we have a spot in the dining room that it should fit into without much trouble when gaming. I actually ended up changing the final design of the topper (and a few other parts) on the fly – more on that later.
Building the Table
For a while, I was sure I was going to have to buy the wood rough and mill it myself. I would’ve had to do it by hand which would’ve taken quite some time. Then a friend of mine told me about a local lumberyard that does furniture-grade machining for very cheap, and I decided to give it a shot.
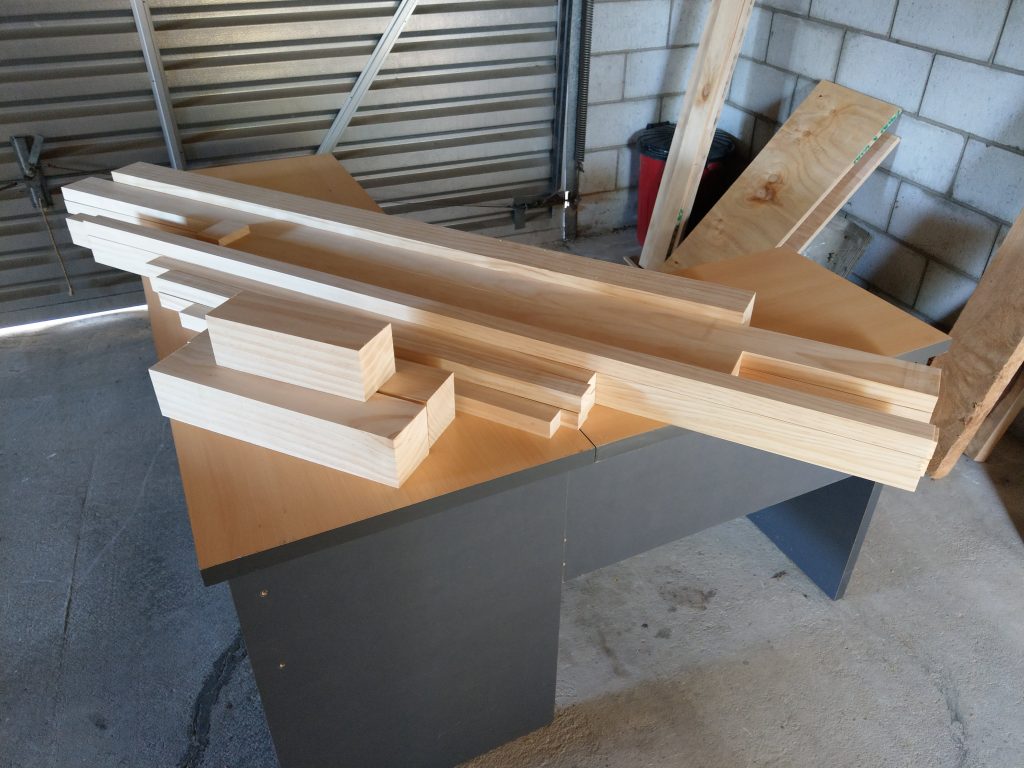
One week after placing the order, I had the wood ready to go.
It’s all NZ radiata pine, with two sheets of AD 17mm ply.
Around this time, my brother was staying with us for a couple weeks. He was happy to help out with the construction, which was great timing.
We got going on it pretty quickly. I tried to take lots of photos but forgot occasionally (due to the excitement), so some parts of the process got missed.
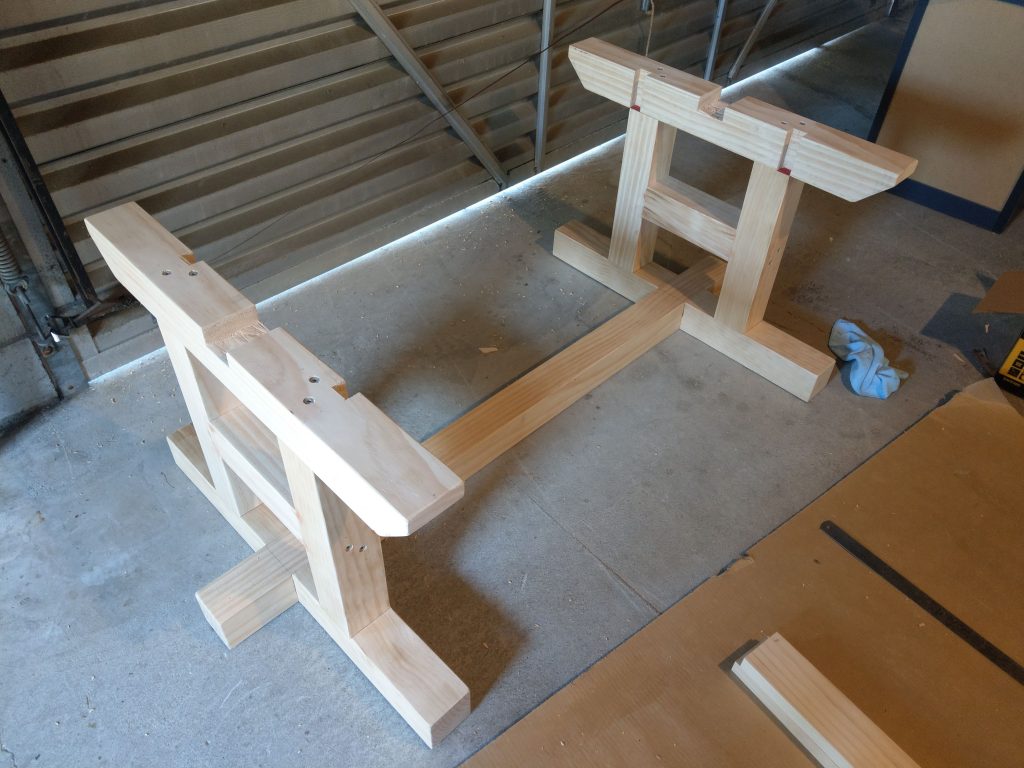
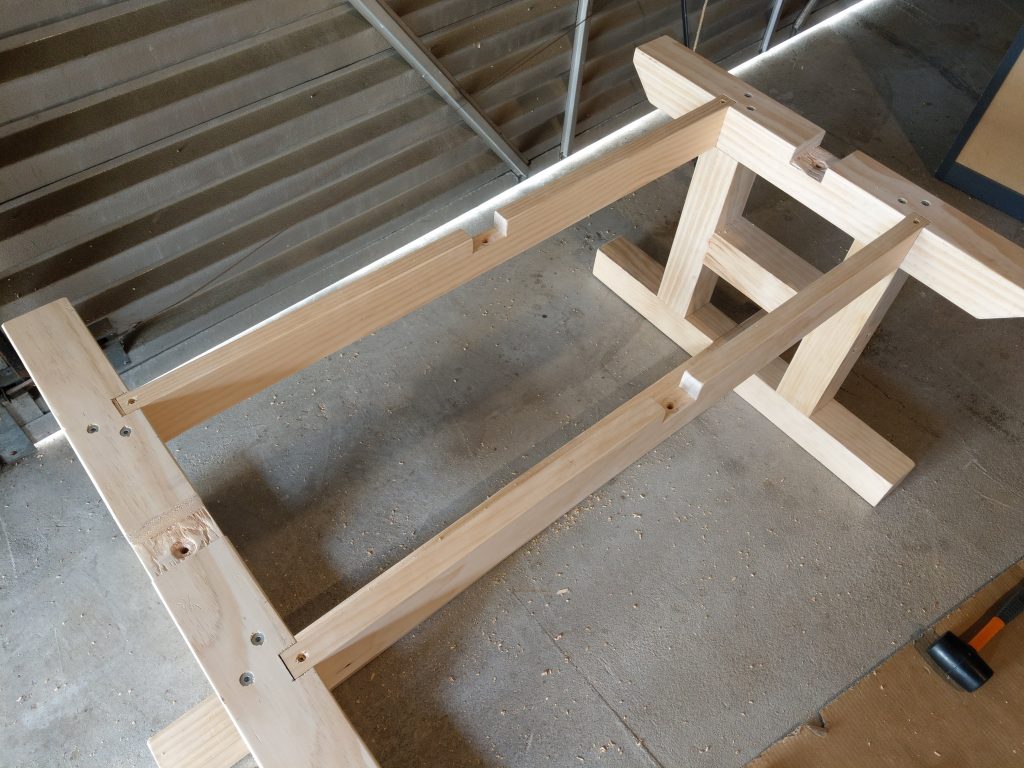
The Bottom
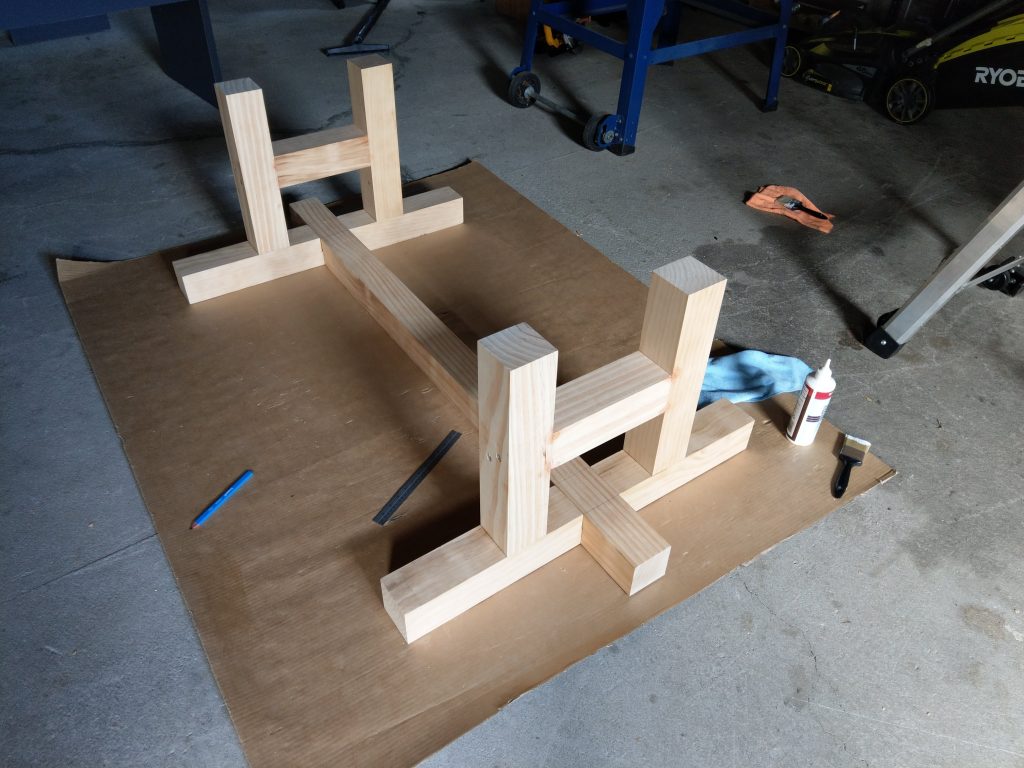
We started off by making the H legs.
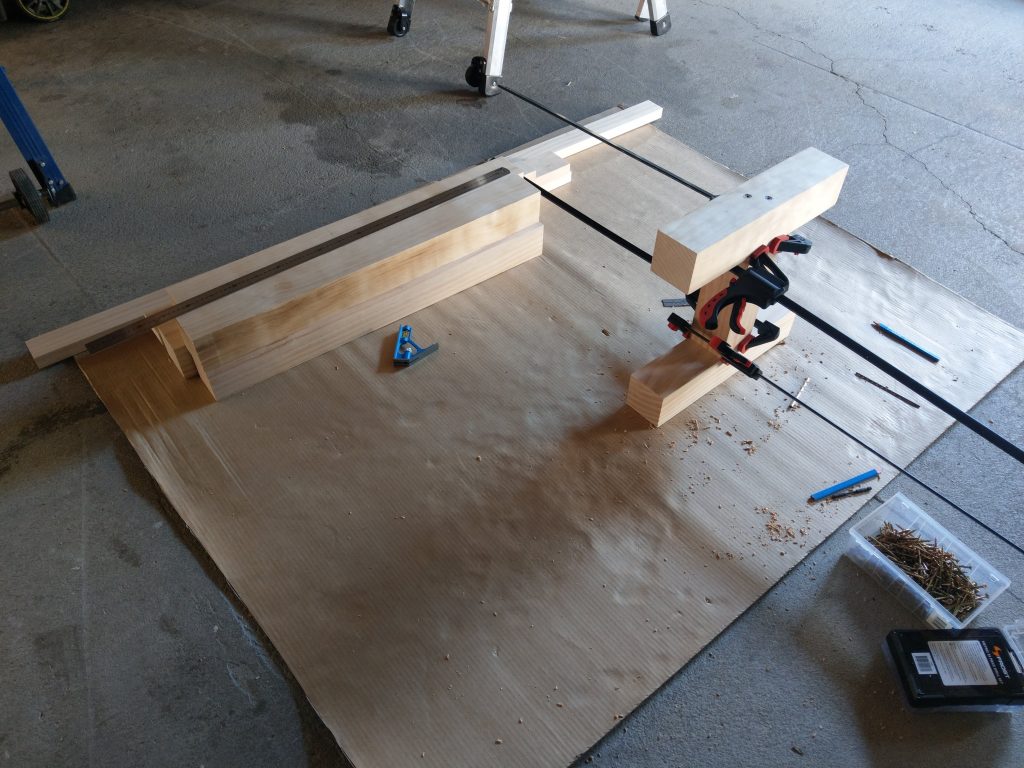
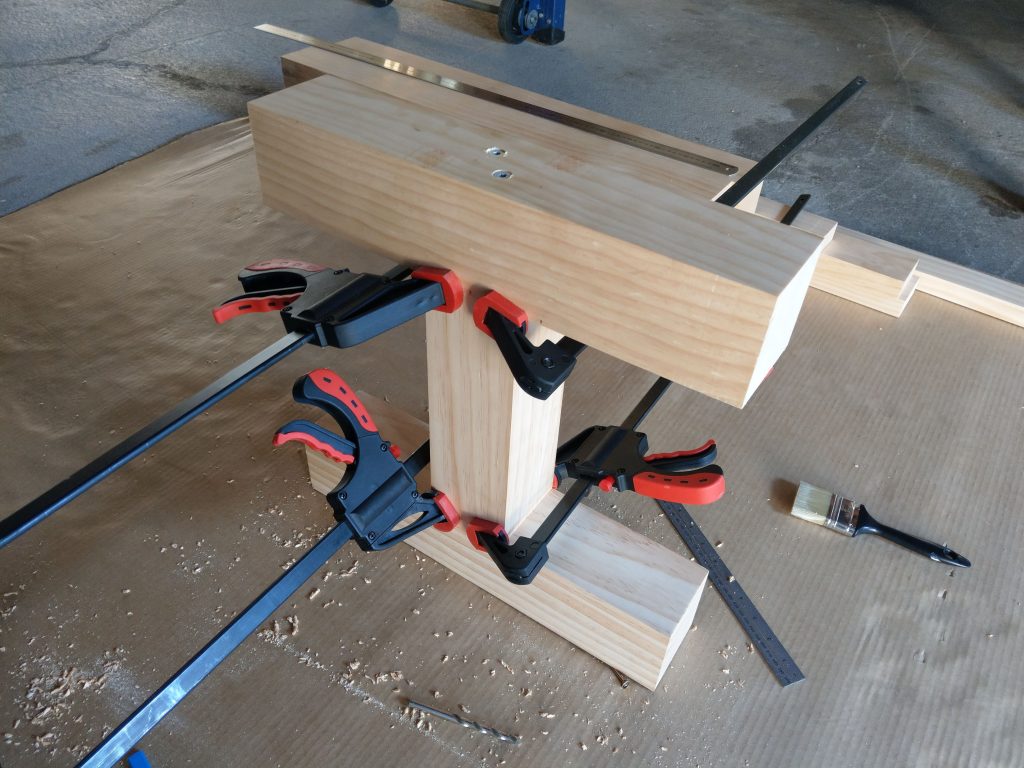
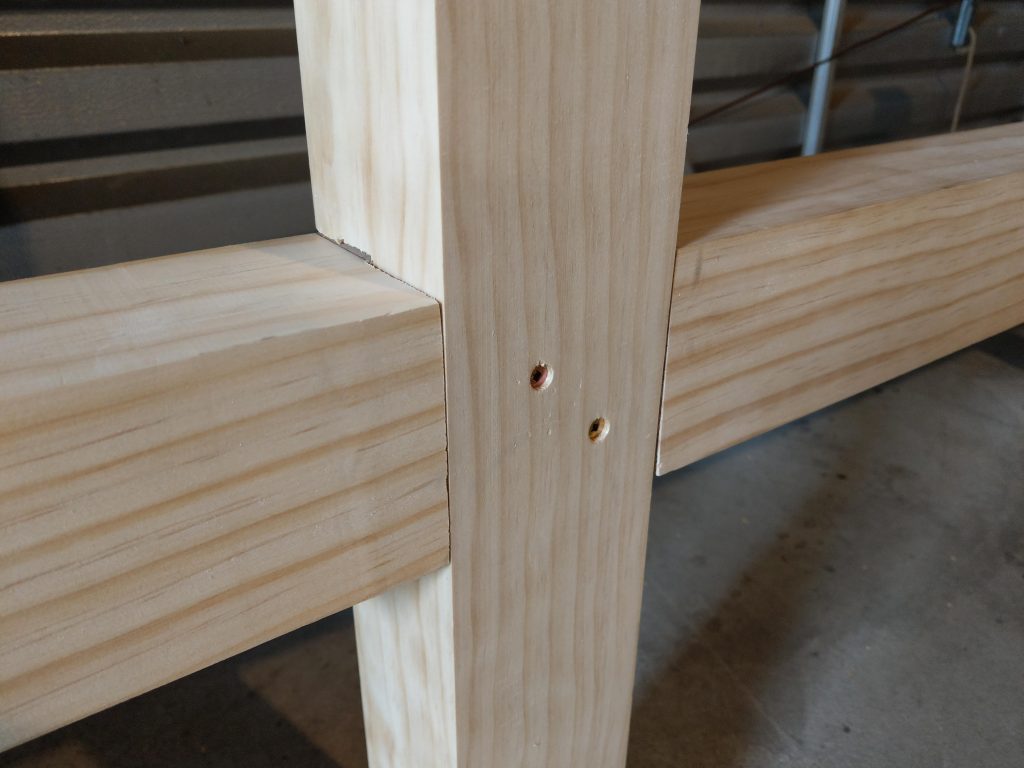
We didn’t bother with mortise and tenon joints or the like – most of the connections are glue and screw. We made sure to use the pilot + clearance hole method to get them tight and secure, and used clamps to keep them square.
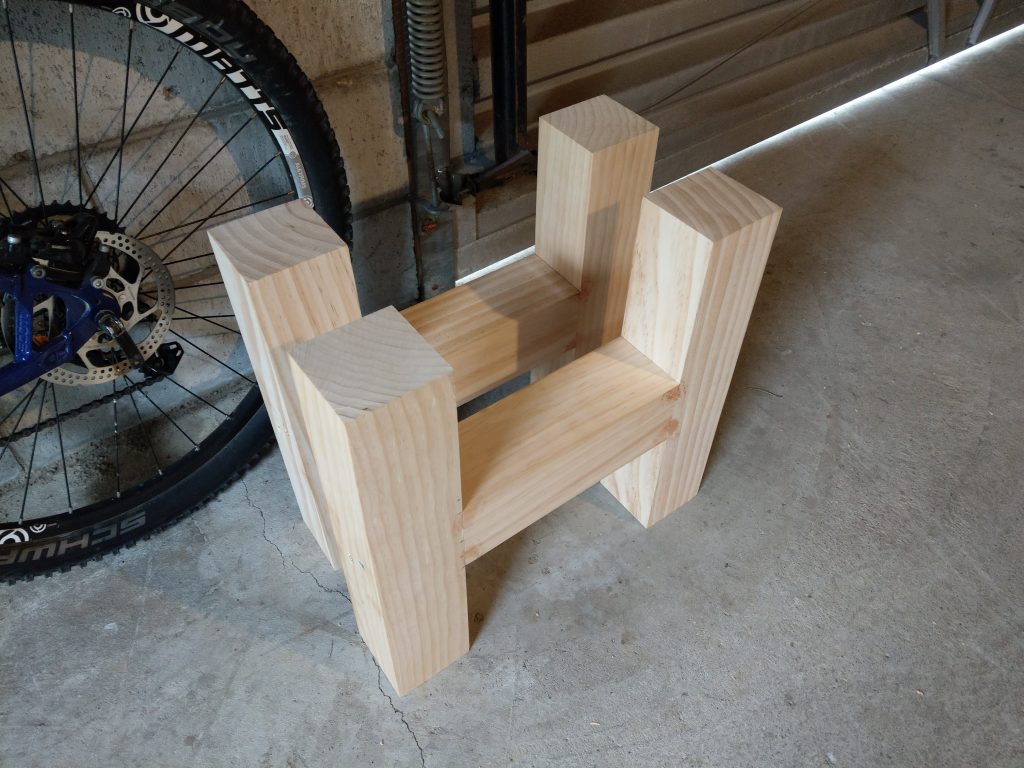
Next up was cutting the lap joints for the base of the legs.

Honestly, none of the lap joints in this project are particularly well done, but we learned a lot doing them. Towards the end we used wood filler to hide the mistakes, which turned out pretty well.
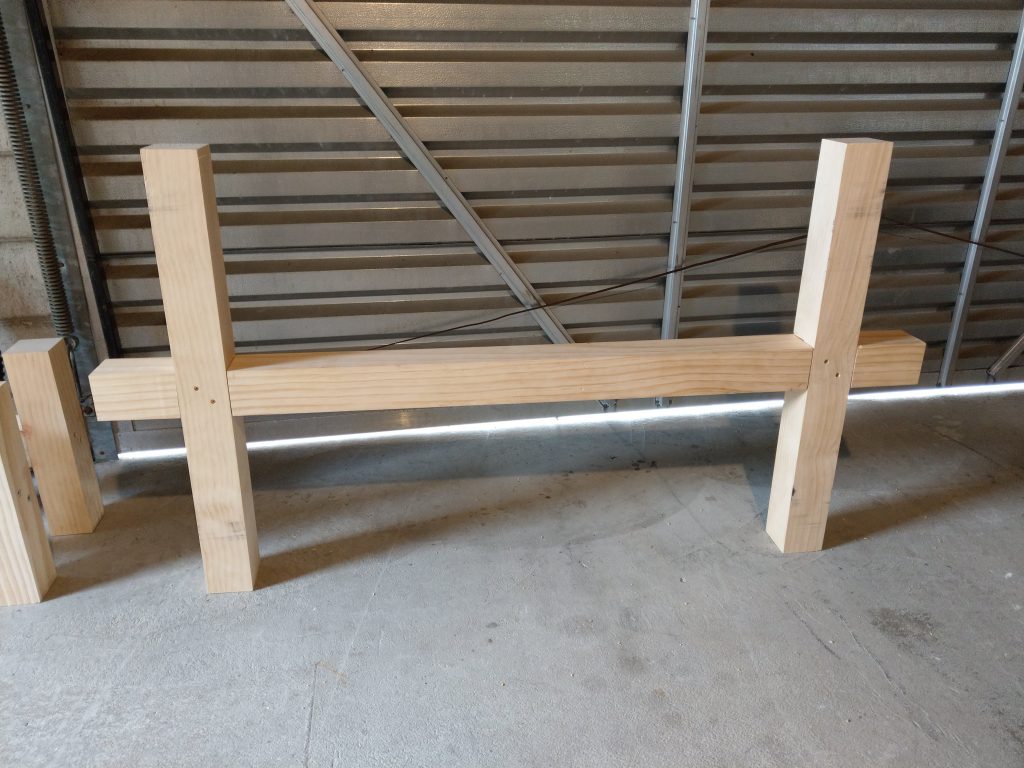
When it came time to put the H legs onto the base, I was a bit nervous it wouldn’t come out level, but it did… And it looked pretty good! This is when I started to get really excited about the project.

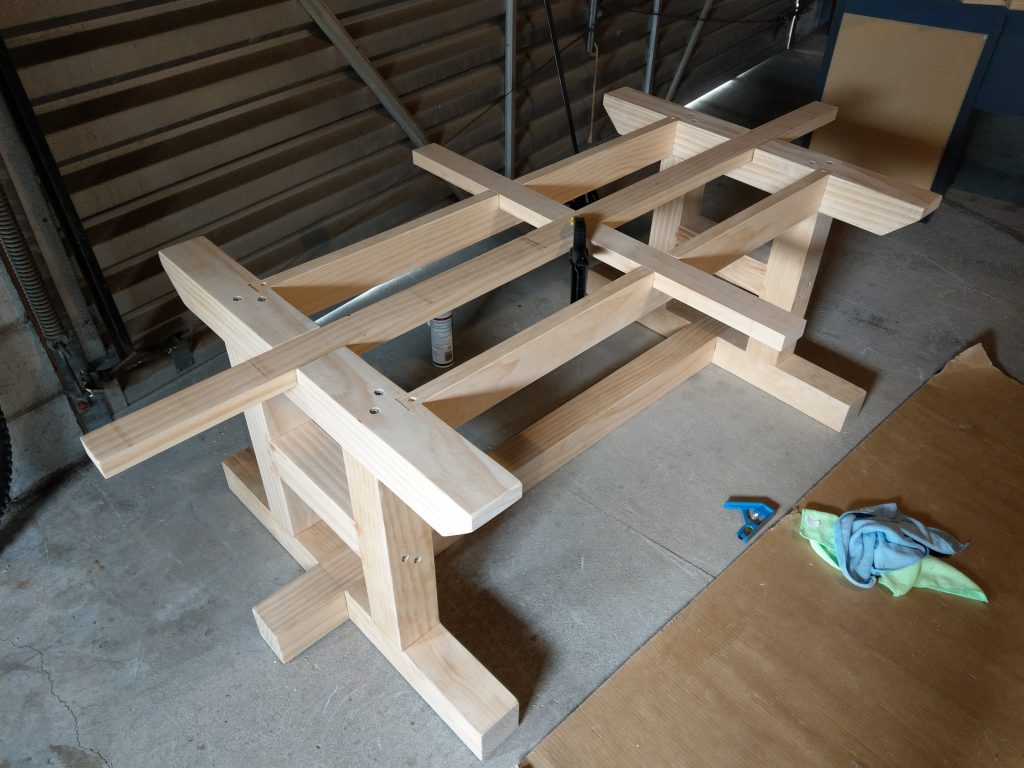
I didn’t take any photos of the next joints in progress, but here’s the wood resting in them. This was immediately prior to cutting the 90 degree gradients and attaching the tops of the H legs.
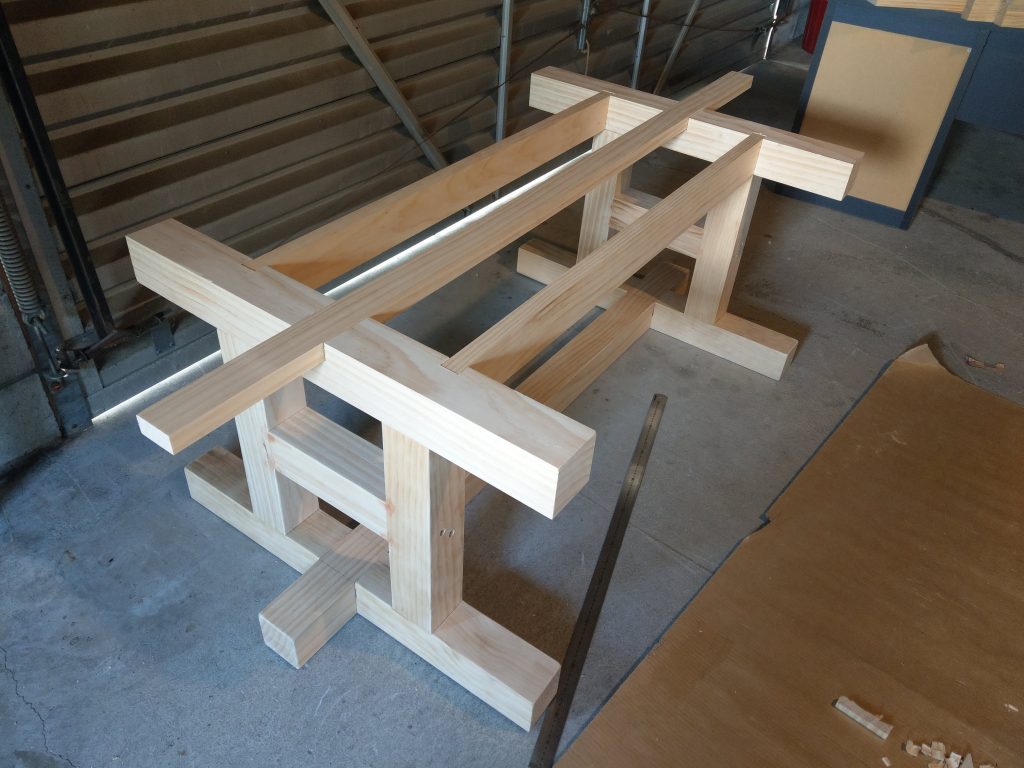
The two shorter beams running across were both recessed the tiniest bit too much, so we needed to get clever.
Sandpaper is surprisingly versatile!
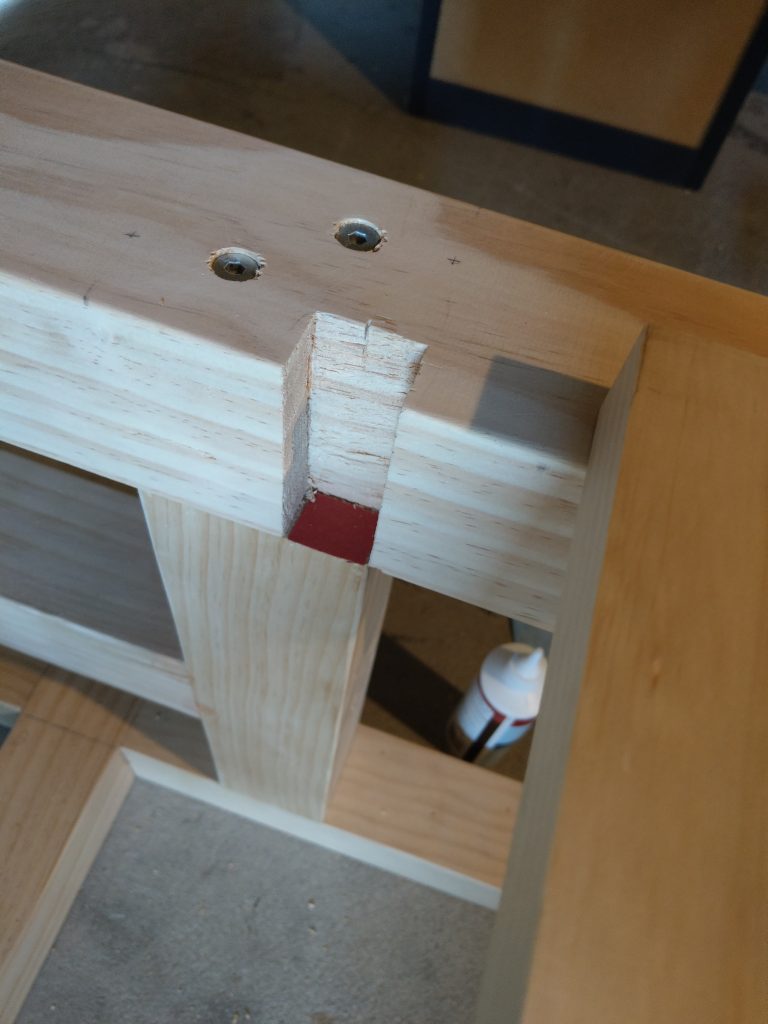
One of the ends was also a bit too loose, so we plugged it up beautifully.
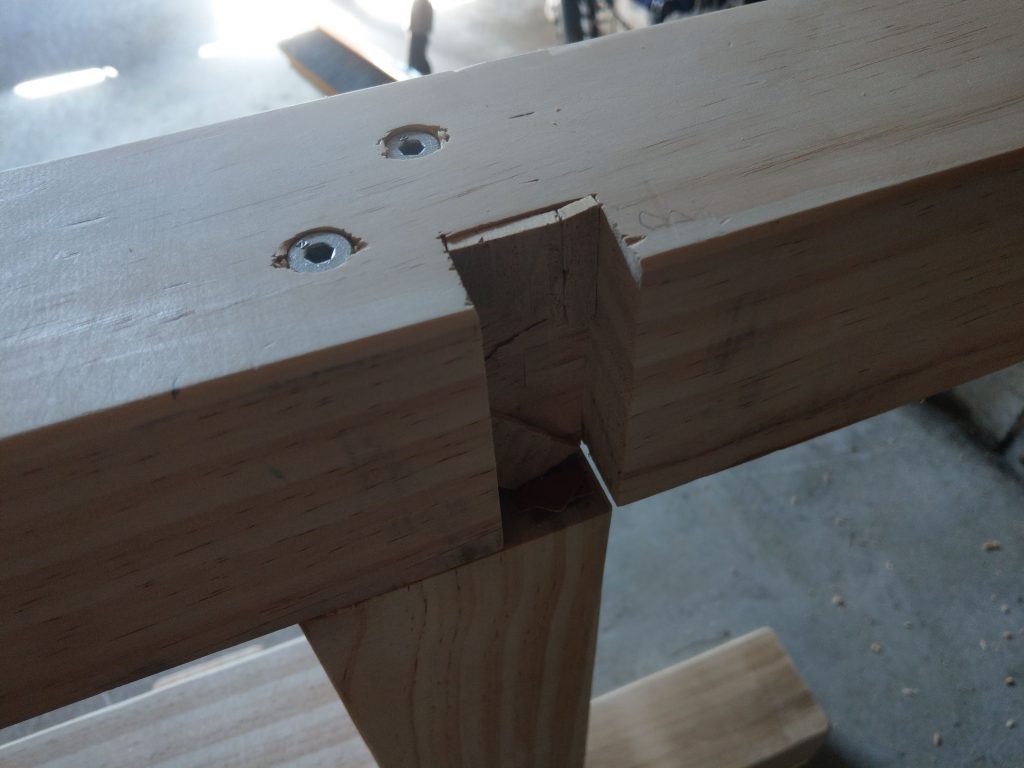
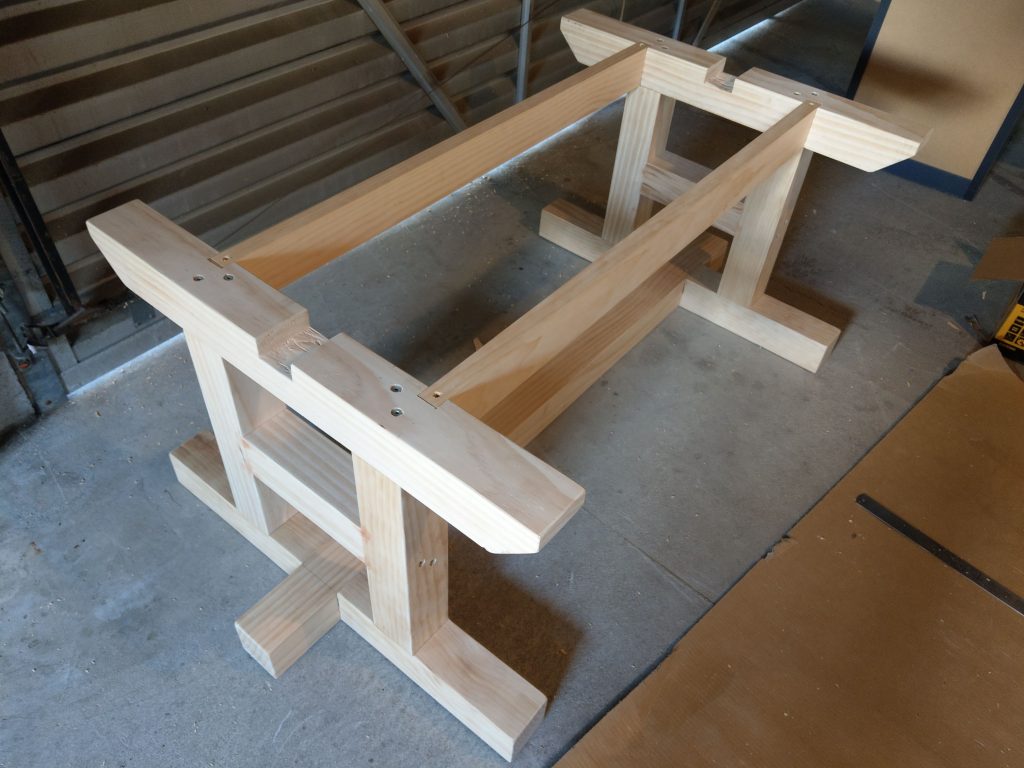
We ended up attaching the shorter beams before cutting the joints in them so we could get the measurements precise. This worked out pretty well.
We then sanded the whole thing, including rounding off the edges.
You can see the bolt holes for attaching the top to the legs.
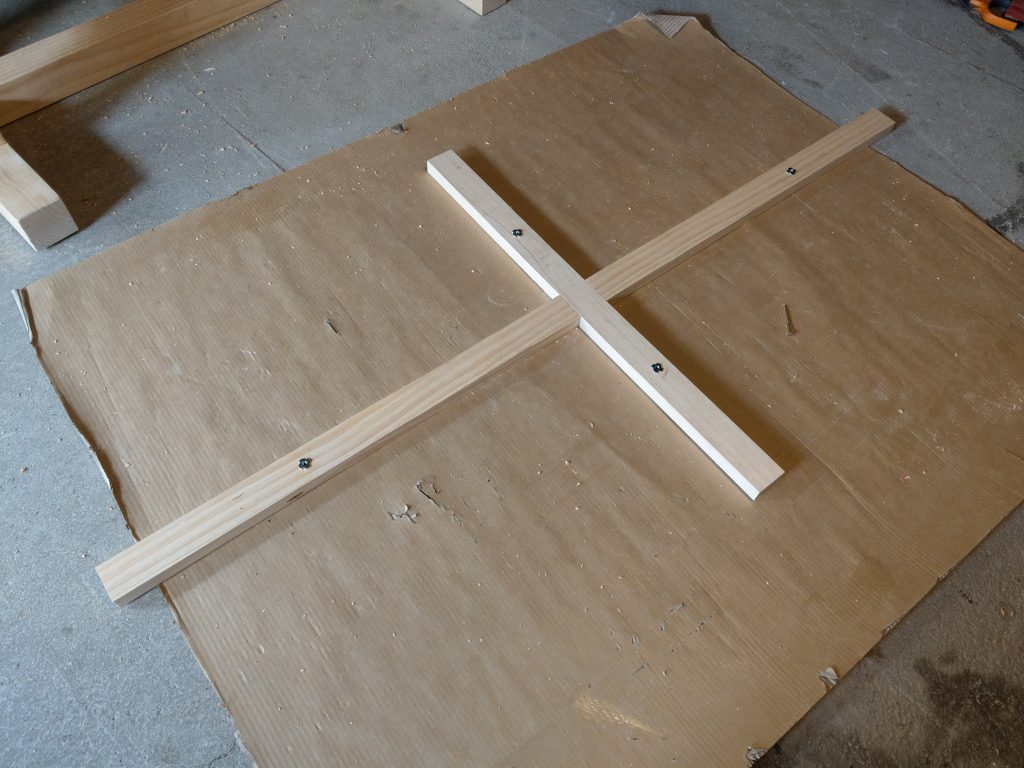
The Middle
Next up was actually making the “bottom of the middle”. It was straightforward and we glued it together while sitting in the joints to ensure it would fit once dry.
Once it dried, we attached the tee nuts.
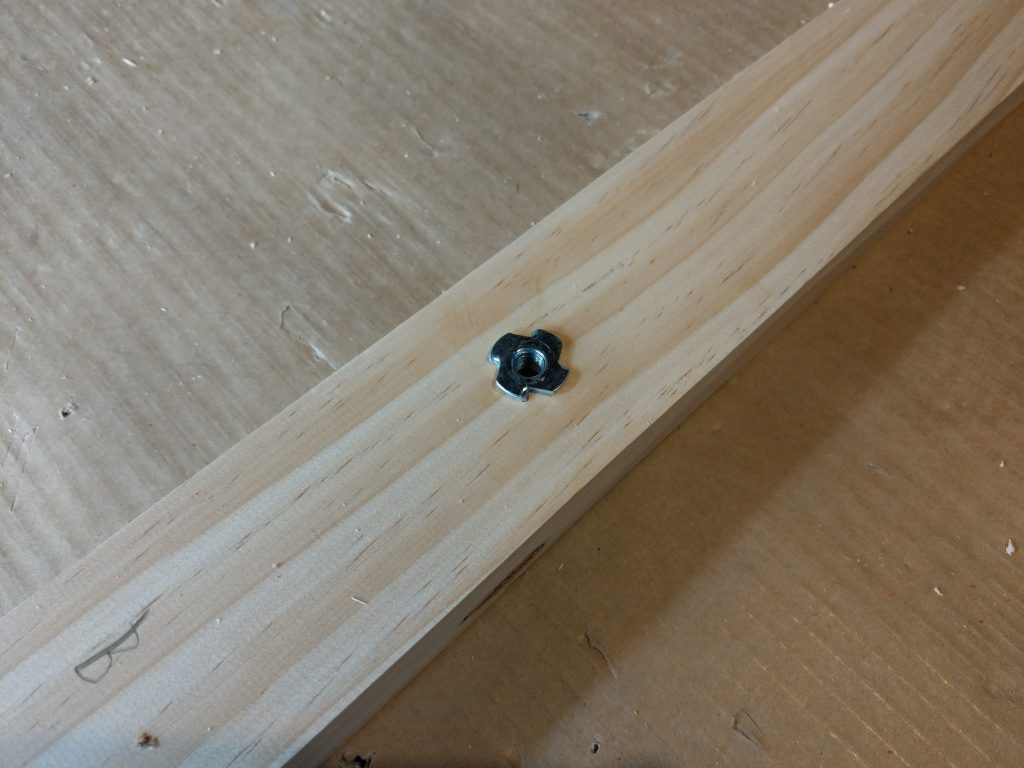
Tee nuts are a bit of a pain, and I would probably use something like a sleeve nut were I to start over. There simply isn’t enough surface area to properly fasten, even with a good amount of glue. They ended up ripping out the first time we tested the bolts, so we reattached them with even more glue. They seem okay now but I don’t fully trust them. Shouldn’t be a problem unless someone decides to dance on the table.
Next up was attaching the “bottom of the top” to the “middle of the top”. We carefully glued it in place, then screwed it on for good measure. The 45mm screws only get about 13mm of purchase in the ply, but even just the glue would’ve been enough to hold it in place.
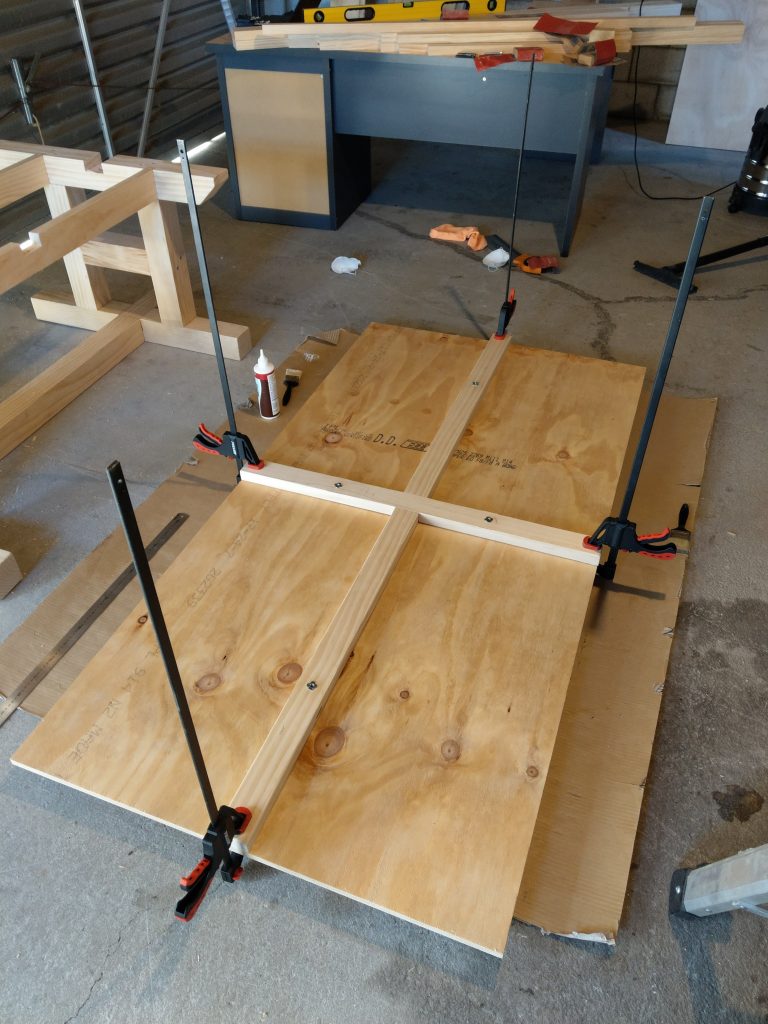
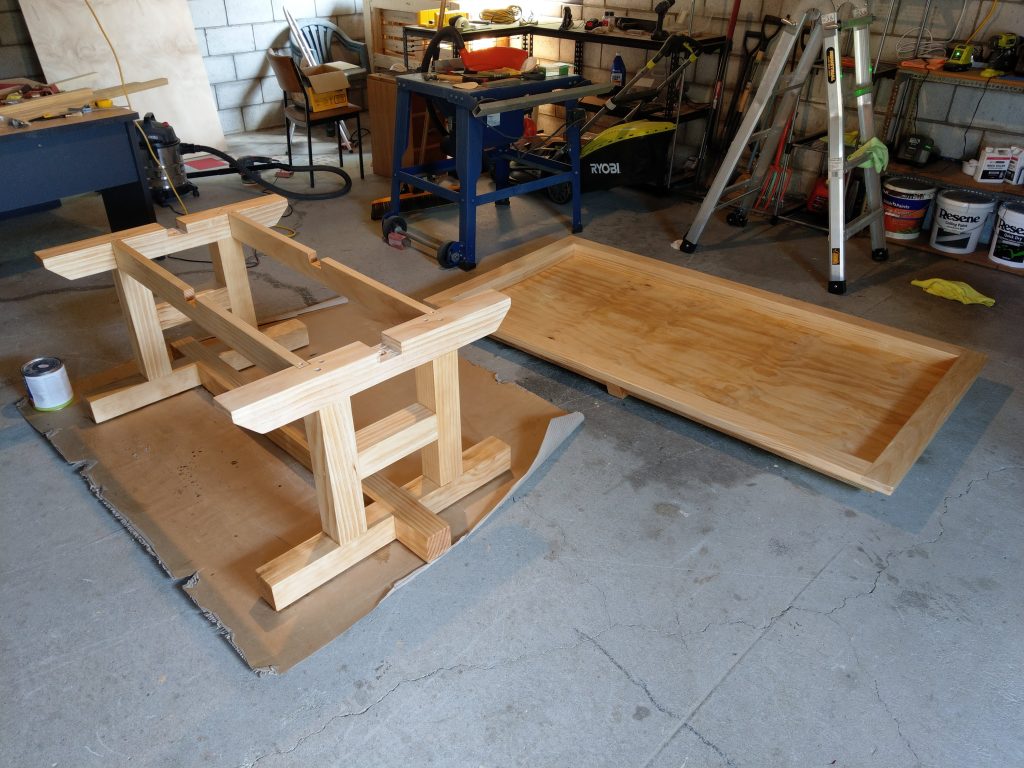
Once it was dry and ready to go, we placed it on the legs, and it fit perfectly.
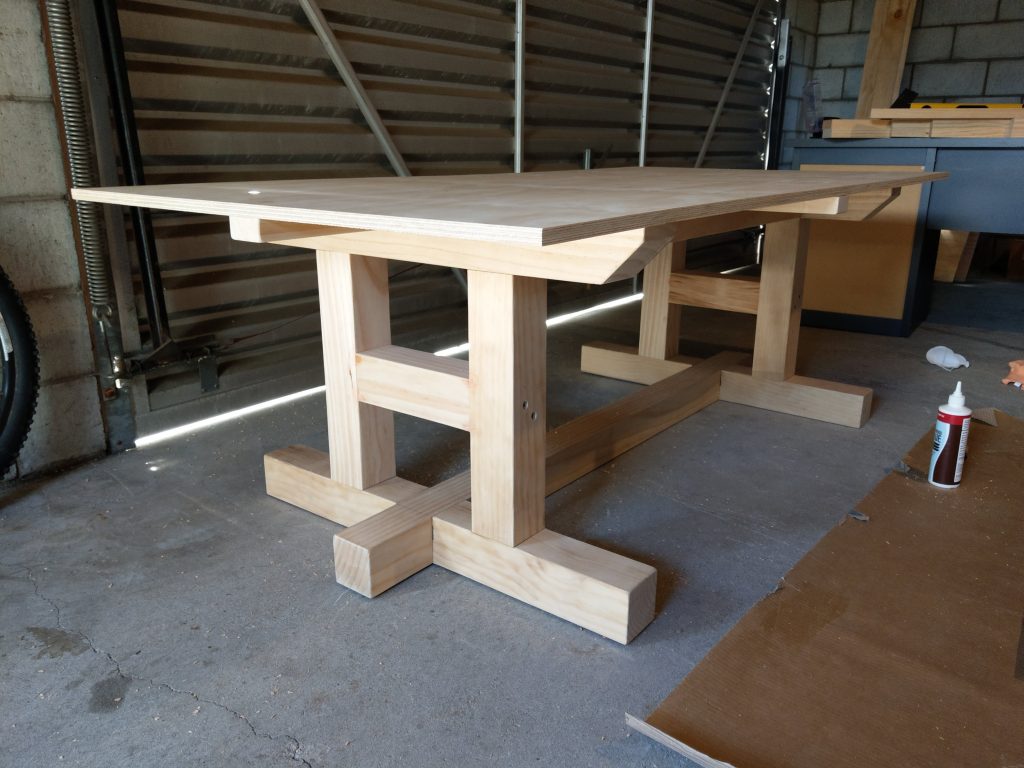
The Skirts
Next up we started to work on the skirts. I wasn’t sure how this section would actually work out, so we sort of made it up as we went. It was great.
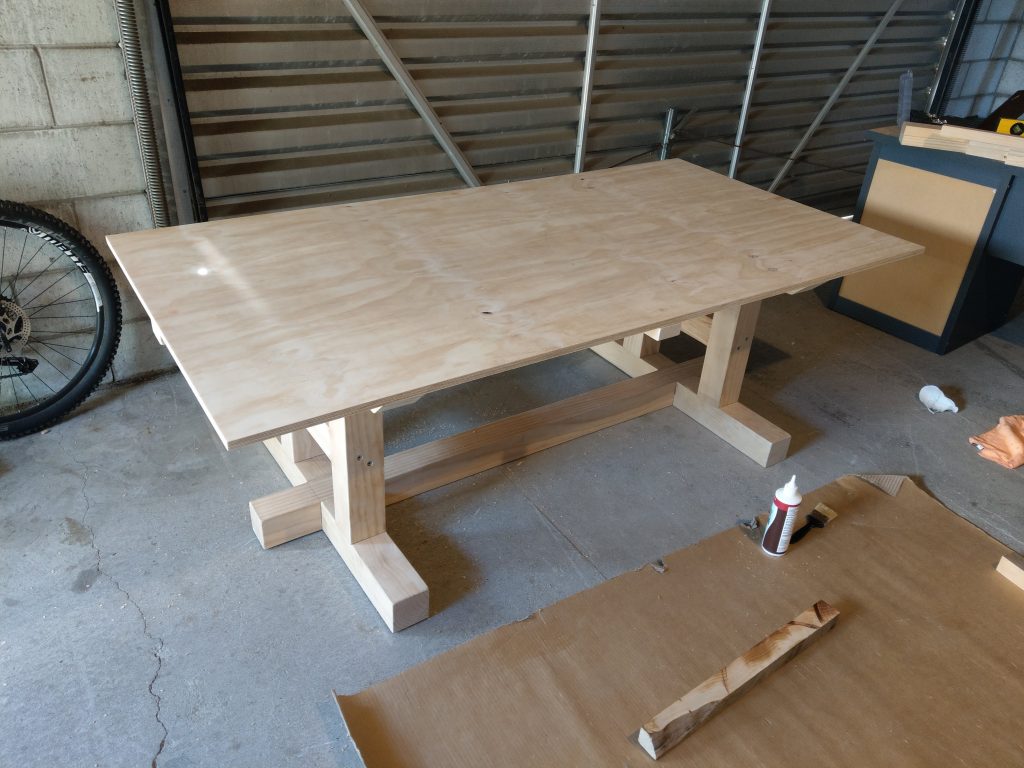
The most important part to me was to keep the surface area exactly matching my specs, so we worked slowly.
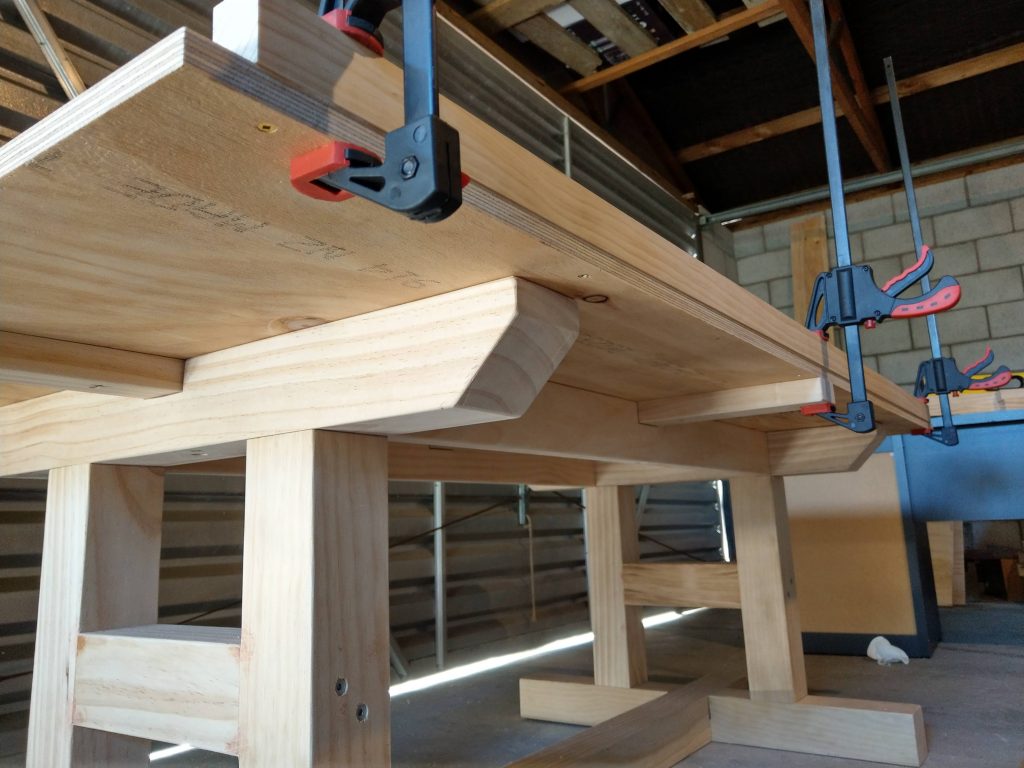
Once all the bases were attached, we rested the skirt tops on them to see how they measured up. They were perfect. I’m extremely happy with how precisely machined all the wood ended up being.
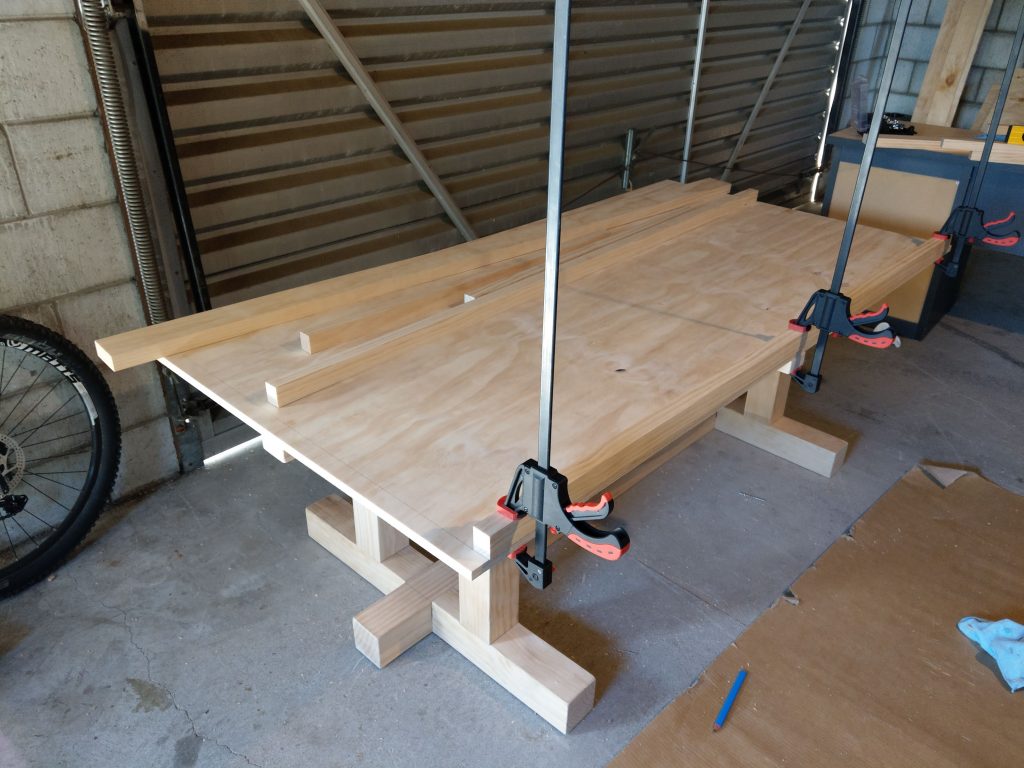
I didn’t take any photos of us attaching the skirt tops, but we made an impromptu change from my designs. Rather than a 90 degree joint end-grain to end-grain for the corners, we ended up using lap joints (yet again).
We screwed the skirts on from the top and filled the holes with a wood filler and sawdust mix. It was a very slow and precise process that we spent most of a day doing, which paid off.
The diagonal blocks in the centre of the skirts are not structural, they’re glued on and purely for aesthetics.
First Finishing Attempt
This is when we put wood filler in the leg lap joints and screw holes. We also attached some furniture feet to elevate it a few mm.
We then began the finishing process, using a satin polyurethane, applying two coats one day apart. At first we used foam brushes, but they broke almost immediately, so we switched to standard brushes.
We stopped at this point despite the fact that it wasn’t finished (two coats is not enough, no matter how much we would’ve liked it to be). My brother was leaving in a couple days and we really wanted to try it out with him. The plan was for me to bring it back into the workshop and finish it myself after he left.
Trying It Out
We moved it into the dining room, extremely pleased with the overall result (except the finish, which was admittedly a little rushed and quite streaky as a result).
After an intense game of Firefly with my wife and brother (he won handily), he had to leave. I set to work finishing the job by myself.
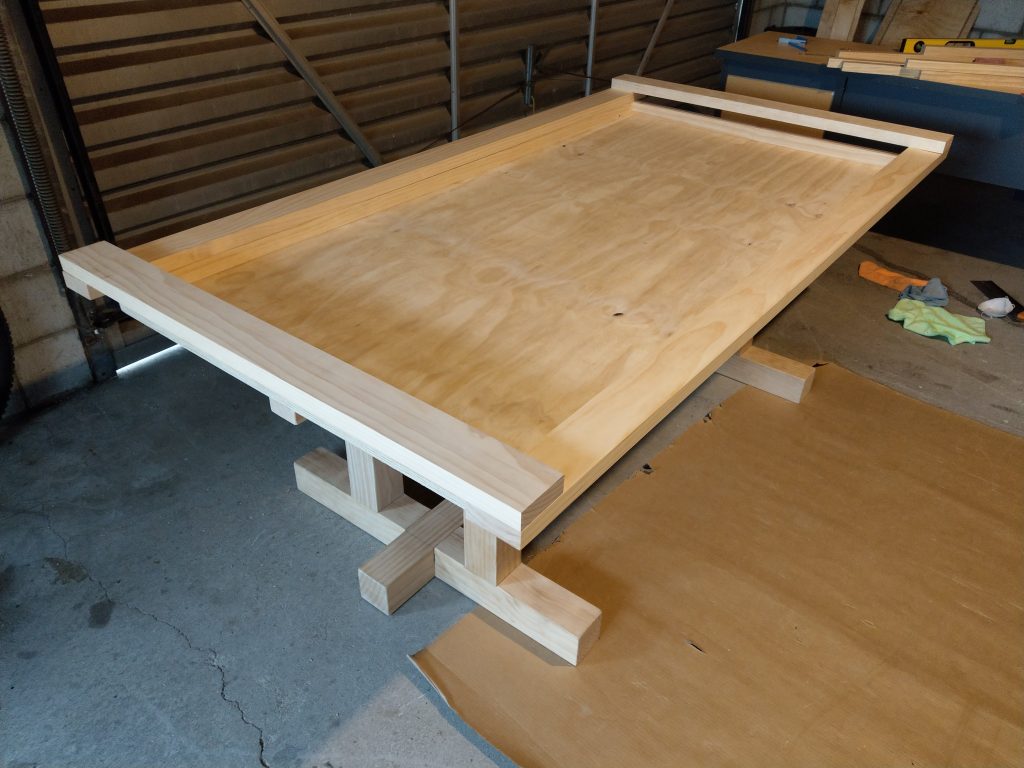
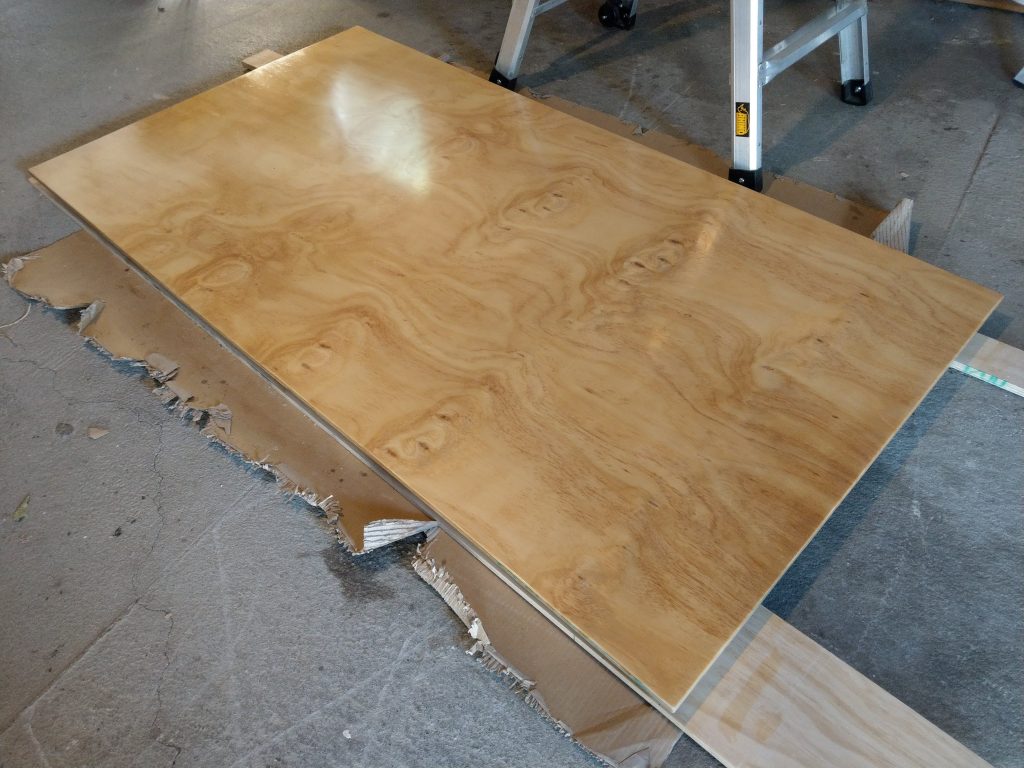
The Top
The first thing I wanted to check was how well the dining topper aligned with the rest of the table. It was nearly perfect, with only a minor bit of warping in one corner.

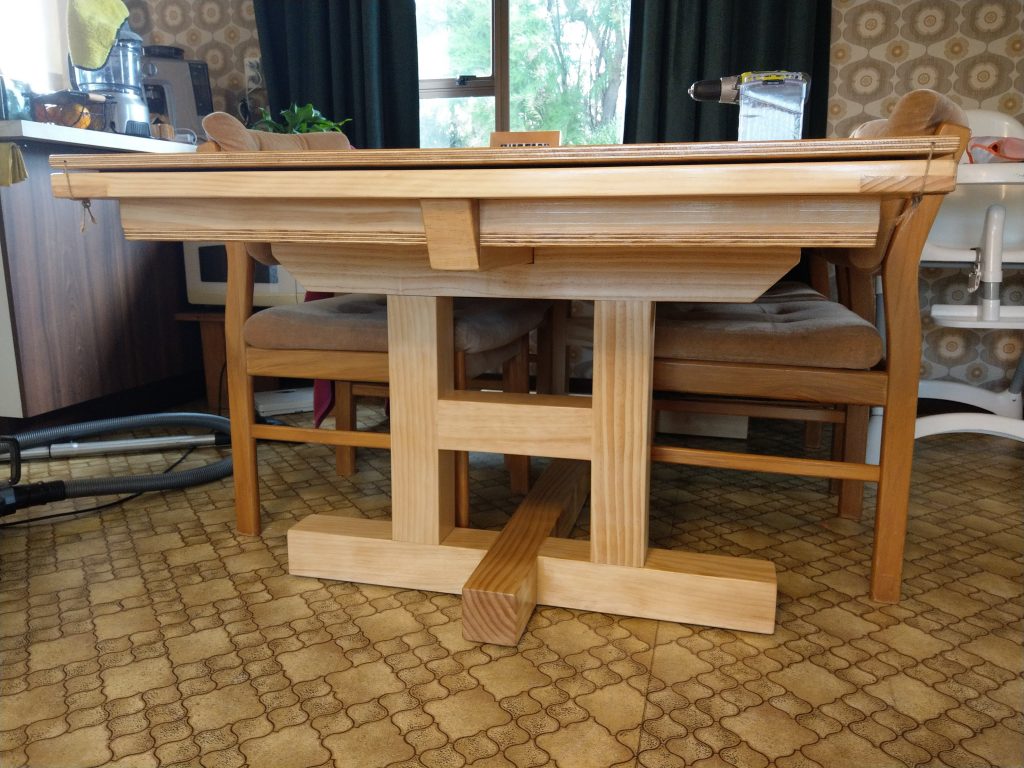
I ended up deviating substantially from the original design for this part, but I’m really pleased with the revised approach.
Instead of the full frame, I chose to put a cross brace in the middle. I also used furniture feet for the corners to align it nicely so it doesn’t move. Finally, I stuck felt around the edges to be gentler on the skirts when in place.
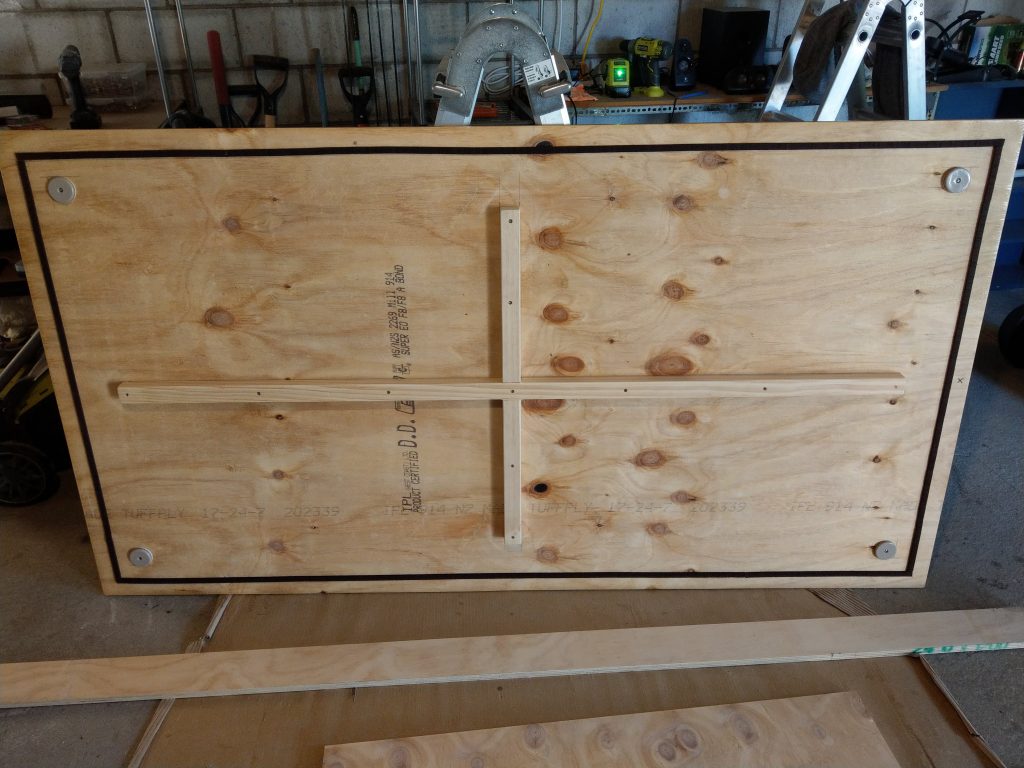
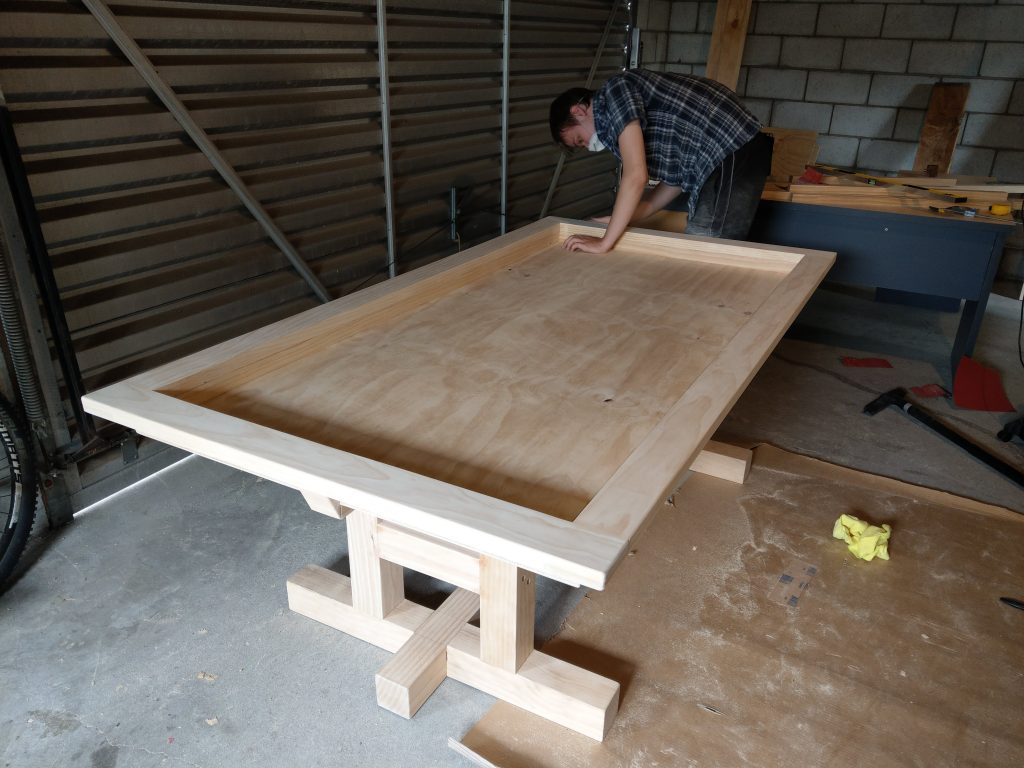
I’m a little concerned about sagging in the middle due the size of the sheet, but I’ve been reassured that the brace should help it withstand years of abuse without much trouble. And honestly, if it does end up sagging eventually, I can replace it easily enough with something sturdier. It was by far the simplest – and cheapest – part of the table to make.
Redoing the Finish
At this point, I actually ended up sanding off most of the finish and starting over. Rather than the 100% poly we had gone with originally, I thinned it 50/50 with turps and wiped on 9 coats instead of brushing (found this technique here). This took about a week, but the finish turned out great as a result – no more brush marks.

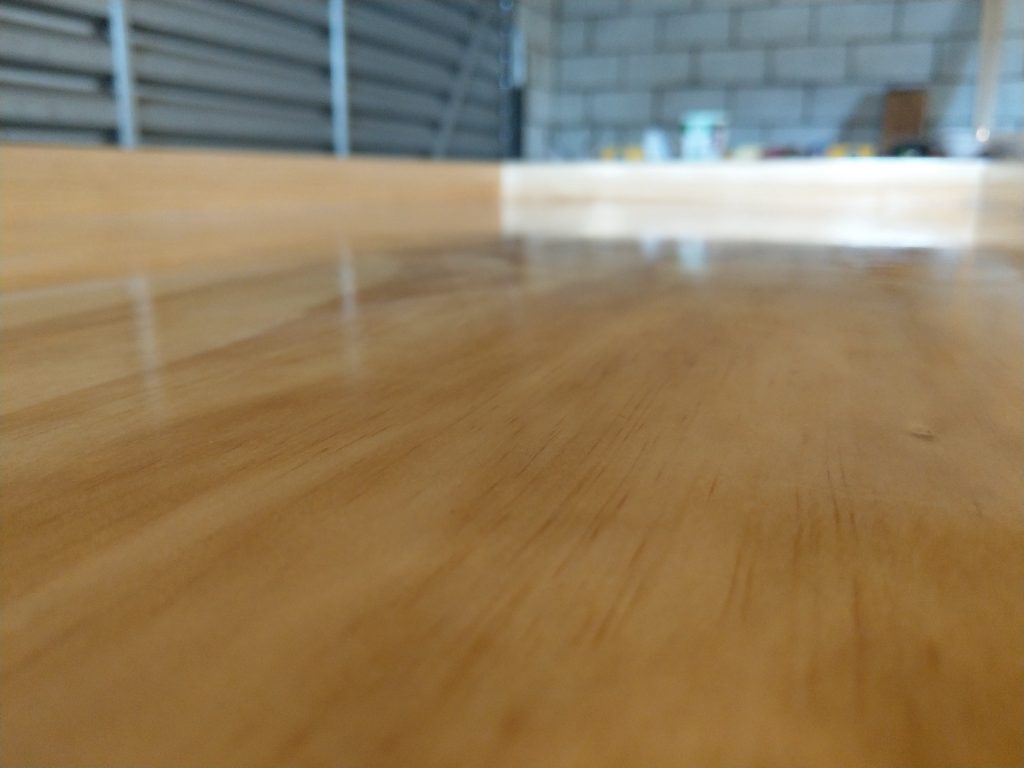
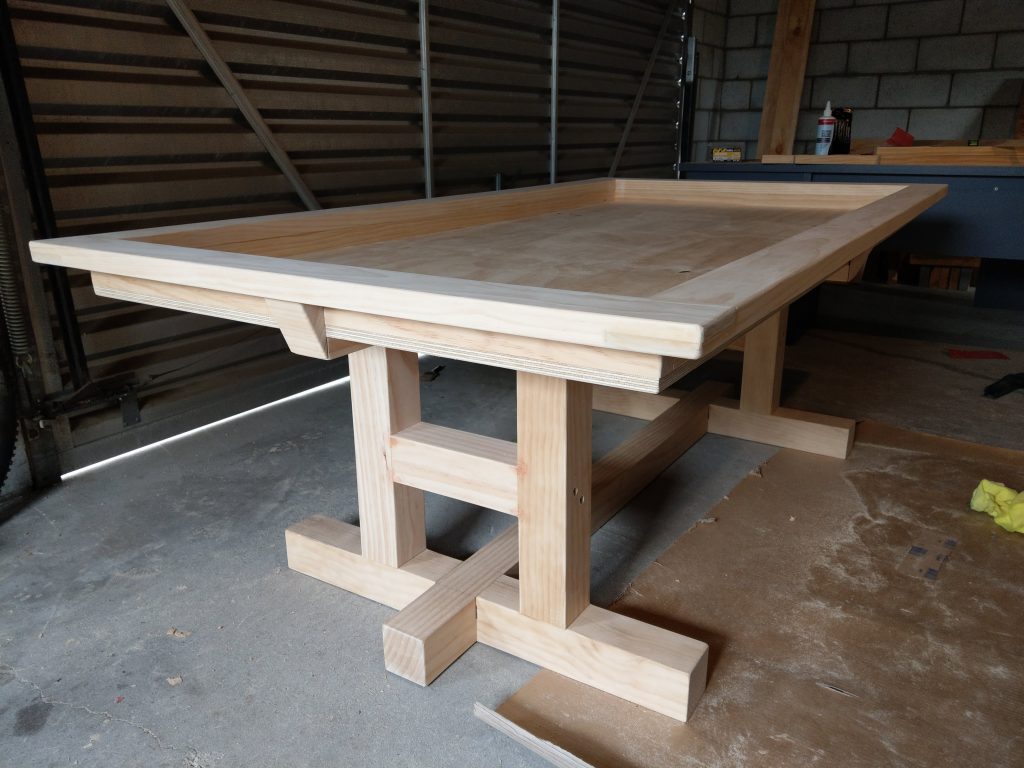
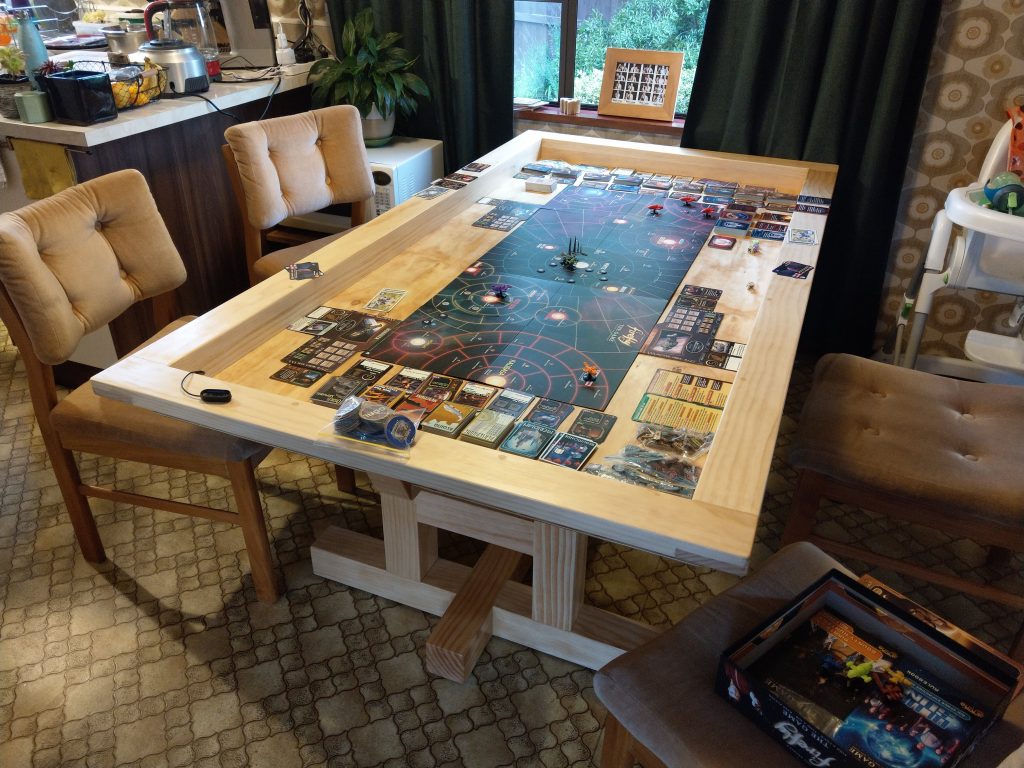
With the finish completely done, I brought it inside for good.
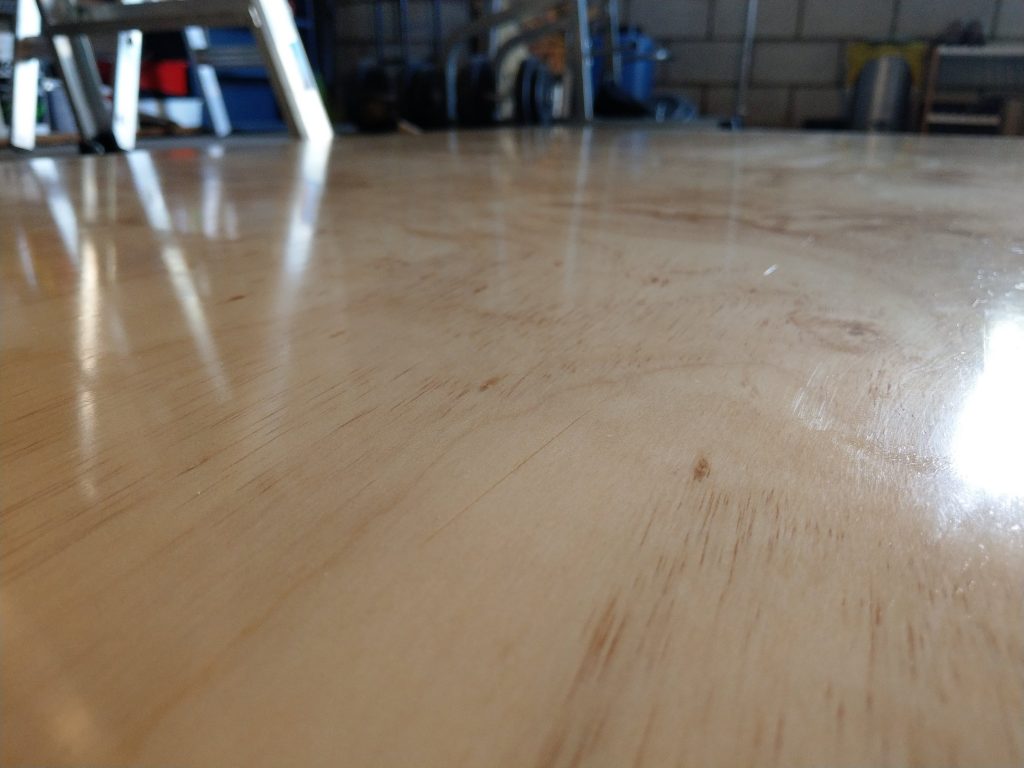
The observant among you might notice the slightly warped corner on the left. The ply raises about 5mm here, which isn’t much, but enough to be noticeable and annoying.
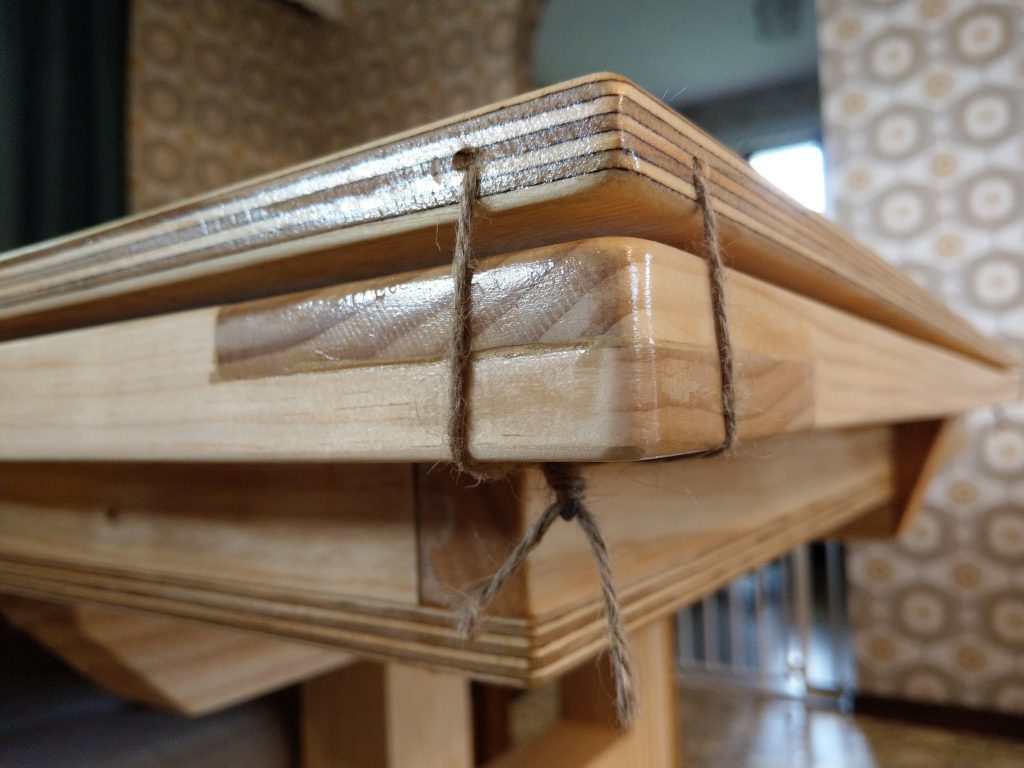
Fixing the Warp
My solution was to put eyelet screws under the skirts in each corner, and holes diagonally through the topper. I then thread some rustic twine through the hole, pull it tight, and wrap it around the eyelets as shown. It holds the top down perfectly. The twine doesn’t even need to be tied which makes attaching and detaching the top easy.
Overall, I’m extremely happy with the result. It’s almost exactly as planned, and better than I imagined.
The only outstanding part of the project is that I’ve ordered a neoprene mat for the gaming surface. Once it arrives and we take it for a spin, I’ll take some photos and post an update.